Drawing skulls is a fascinating and rewarding artistic endeavor that captivates many artists and enthusiasts alike. The human skull, with its complex structure and symbolic significance, offers a unique challenge that can enhance your drawing skills and deepen your understanding of anatomy. This article will provide a comprehensive guide to drawing skulls, covering everything from the basic structure to advanced detailing and various artistic styles. Whether you’re a beginner or an experienced artist, there’s always something new to learn and explore in the world of skull drawing.
Introduction to Drawing Skulls
Drawing skulls has intrigued artists for centuries, not only because of their complex anatomy but also due to their rich symbolic meanings. Skulls are often associated with themes of mortality, life, and death, making them a powerful subject in art. They appear in various cultural contexts, from the memento mori in classical art, reminding viewers of the inevitability of death, to the vibrant sugar skulls of Mexican Día de los Muertos celebrations, symbolizing the honoring of departed loved ones.
When you set out to draw a skull, you’re not just sketching bones; you’re engaging with a subject that has profound historical and cultural significance. This duality makes skulls an endlessly fascinating subject to draw. Understanding their symbolism can add depth to your work, making it resonate more with viewers.
Basic Anatomy of the Skull
To draw a skull accurately, it’s essential to understand its anatomy. The human skull consists of several bones that fit together like a complex puzzle. These bones can be divided into two main groups: the cranium, which houses the brain, and the facial bones.
The cranium is composed of the frontal bone (forehead), parietal bones (top and sides), occipital bone (back), temporal bones (sides near the ears), and sphenoid bone (at the base of the skull). The facial bones include the maxilla (upper jaw), mandible (lower jaw), nasal bones (bridge of the nose), zygomatic bones (cheekbones), and a few smaller bones that form the eye sockets and other features.
The skull also features several prominent sutures—jagged lines where the bones meet. These include the coronal suture (between the frontal and parietal bones), sagittal suture (along the top of the skull), and lambdoid suture (between the parietal and occipital bones). Understanding these sutures is crucial for adding realism to your drawing, as they provide landmarks for the overall structure.
The skull’s cavities, such as the eye sockets (orbits), nasal cavity, and mouth, are essential features to capture. The orbits are large, rounded depressions that house the eyes. The nasal cavity is a complex structure that sits centrally between the orbits. The jawbones, particularly the mandible, add dynamic elements to the skull’s shape and are crucial for portraying expressions if you’re drawing a living skull.
Starting with Basic Shapes
When beginning your skull drawing, starting with basic shapes can help you map out the overall structure before delving into details. This foundational approach ensures your proportions are accurate from the start.
- Head Shape: Begin with an oval or an egg shape to represent the cranium. This shape should be wider at the top and narrower at the bottom, roughly resembling the human skull’s outline.
- Guidelines: Draw a vertical line down the center of your oval to ensure symmetry. Then add a horizontal line across the middle to establish the eye line. Additional horizontal lines can mark the positions of the nose and mouth.
- Eye Sockets: Place two large circles on the horizontal guideline for the eye sockets. These should be evenly spaced on either side of the vertical line.
- Nasal Cavity: Below the eye sockets, draw an upside-down heart shape for the nasal cavity. The top of this shape aligns with the bottom of the eye sockets.
- Jawline and Cheekbones: Extend the lower part of the oval to form the jawline. Draw two lines from the sides of the oval down to a point below the nasal cavity for the chin. Add curved lines extending from the eye sockets to the sides of the head to represent the cheekbones.
These basic shapes and guidelines create a framework for your skull drawing, making it easier to add more detailed features later. This step is crucial because it sets the stage for a proportionate and balanced drawing, ensuring that your skull looks realistic and coherent.
Different Styles of Skull Drawings
Skulls can be depicted in various artistic styles, each offering a unique perspective and aesthetic. Exploring different styles can help you find your artistic voice and expand your skill set.
- Realistic Skull Drawings: Realistic drawings aim to capture the true essence of a skull, with all its intricate details and textures. This style requires careful observation and patience. Use reference photos or anatomical models to study the skull’s structure and shadows. Pay attention to the subtle variations in bone texture and the way light interacts with the surface. Shading and blending techniques are crucial in realistic drawings to create depth and dimension.
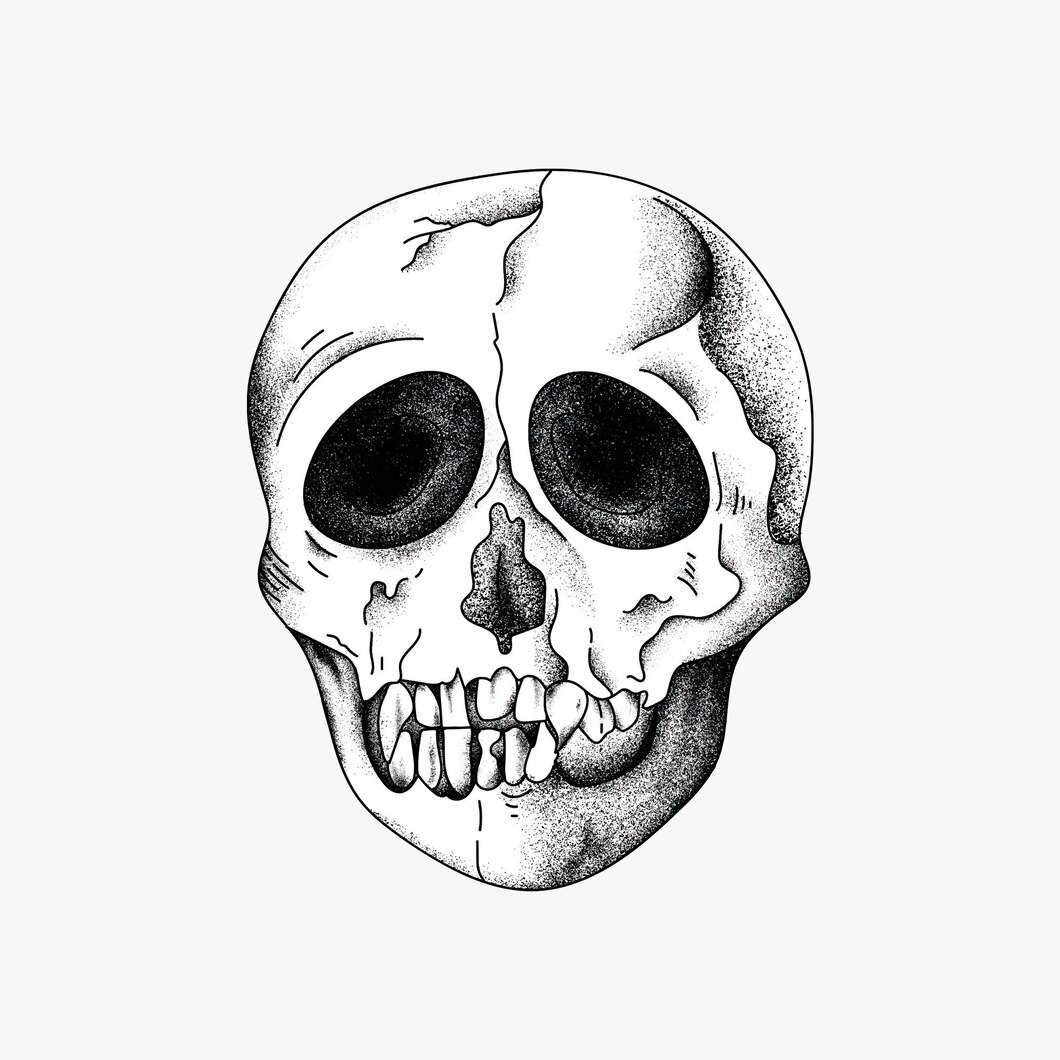
- Cartoon Skull Drawings: Cartoon skulls are characterized by exaggerated features and playful expressions. This style allows for more creative freedom and flexibility. Begin with simple shapes and add large, expressive eye sockets, a prominent nose cavity, and exaggerated teeth. Experiment with different poses and expressions to make your cartoon skulls engaging and lively. This style is great for creating illustrations for comics, animations, or children’s books.
- Abstract Skull Drawings: Abstract drawings focus on using shapes, lines, and colors to represent a skull rather than realistic details. This style allows for a lot of creativity and personal interpretation. You can use geometric shapes, bold lines, and vibrant colors to create a unique representation of a skull. Abstract drawings can be minimalistic or complex, depending on your artistic vision.
- Stylized Skull Drawings: Stylized drawings fall somewhere between realistic and cartoon styles. This style maintains some realistic elements while incorporating stylized features like elongated shapes, simplified details, or exaggerated proportions. Stylized skulls often have a distinct and recognizable look, making them popular in various forms of media and art.
Experimenting with different styles can help you discover what resonates with you and develop your unique artistic voice. Each style offers its own set of challenges and rewards, and exploring them can significantly enhance your versatility as an artist.
Adding Details and Textures
Once you have the basic structure and style in place, it’s time to add details and textures to bring your skull drawing to life. This step involves refining the shapes, adding shadows, and capturing the unique textures of the bone.
- Bone Texture: Skulls have a rough, porous texture that can be challenging to capture. Use small, circular strokes to create this texture. Vary the pressure and direction of your strokes to mimic the natural variations in the bone surface. Pay attention to areas with more pronounced texture, like the brow ridges and the edges of the eye sockets.
- Cranial Sutures: The sutures are the joints between the bones of the skull. Draw these as jagged, irregular lines to represent the natural seams where the bones meet. Key sutures include the coronal, sagittal, and lambdoid sutures.
- Shading and Highlights: Shading adds depth and dimension to your drawing. Determine the light source and use it to guide your shading. Use a range of pencil pressures and strokes to create smooth gradients. Areas closer to the light source should be lighter, while areas farther away should be darker. Highlights are essential for adding a sense of realism. Use an eraser to lift graphite and create highlights on the bone surfaces, particularly along the edges and around the eye sockets.
- Teeth: Skulls have prominent teeth that require careful attention to detail. Draw the teeth as individual shapes, paying attention to their size and placement. Use shading to add depth and dimension, and don’t forget to add the roots of the teeth visible in the jawbone.
- Cavities and Holes: The nasal cavity, eye sockets, and other openings in the skull should be carefully shaded to create a sense of depth. Use darker tones to emphasize these cavities and make them appear recessed.
Adding these details and textures will bring your skull drawing to life, making it more dynamic and visually appealing. Practice these techniques to enhance your skills and create more intricate and realistic drawings.
Tools and Materials
Using the right tools and materials can make a significant difference in the quality of your skull drawings. Here’s a list of essential items you’ll need:
- Pencils: A variety of pencils ranging from hard (H) to soft (B) grades will give you the flexibility needed for sketching and shading. Hard pencils (e.g., 2H, 4H) are perfect for light sketches and fine details, while soft pencils (e.g., 2B, 4B, 6B) are ideal for shading and creating rich, dark areas.
- Paper: The type of paper you choose can impact the texture and appearance of your drawing. High-quality, smooth paper is excellent for detailed work and fine lines, while textured paper can add an interesting element to your drawings. Experiment with different types to see which one suits your style best.
- Erasers: Both kneaded and precision erasers are useful tools for any artist. Kneaded erasers are flexible and can be shaped to lighten areas and create subtle highlights. Precision erasers, such as pencil erasers or eraser pens, are excellent for making detailed corrections and cleaning up fine lines.
- Inking Pens: Inking pens with various nib sizes can add bold lines and sharp details to your drawings. They are perfect for outlining and defining elements in your artwork. Waterproof and fade-resistant inks are recommended